
If you are wondering how to check kids for ticks, the rule is simple: run a full head-to-toe check within a couple of hours after any time in grass, brush, or woods. Young ticks can be as small as a poppy seed, so a quick glance is not enough — you need a methodical look at the hidden spots where ticks like to hide.
When to Do a Tick Check #
After every outing in tick habitat. Hikes, camping trips, playing in tall grass, picnics near woods, even the backyard if it borders brush — all of these call for a check the same day. Ticks live in grass, leaf litter, and low shrubs, and kids pick them up by brushing against vegetation.
Daily checks during tick season. In most of the US, ticks are active from spring through fall, and in warmer states they can be active year-round. If your kids play outside often, make the tick check part of the evening routine, like brushing teeth.
Shower within two hours of coming inside. A shower alone does not kill attached ticks, but it washes off ticks that are still crawling and unattached. Public health guidance supports showering within two hours of outdoor activity to reduce tick-borne disease risk, because it both dislodges loose ticks and gives you a good chance to spot attached ones.
Recheck the next morning. Some tiny nymph ticks are easy to miss on the first pass, especially in thick hair. A quick second look the next day — particularly at the scalp and behind the ears — catches stragglers. Pair your routine with a solid outdoor bite prevention checklist so fewer ticks reach your child in the first place.
The Head-to-Toe Checklist, Spot by Spot #

Work in the same order every time so you never skip a zone. Use good light — daylight or a bright lamp — and run your fingertips over the skin as you look, because tiny ticks are easier to feel than to see.
Scalp and hairline. Part the hair in sections and look at the scalp itself, especially behind the ears, at the nape of the neck, and along the hairline. For kids with thick or curly hair, use your fingertips in a slow zigzag and feel for any small bump.
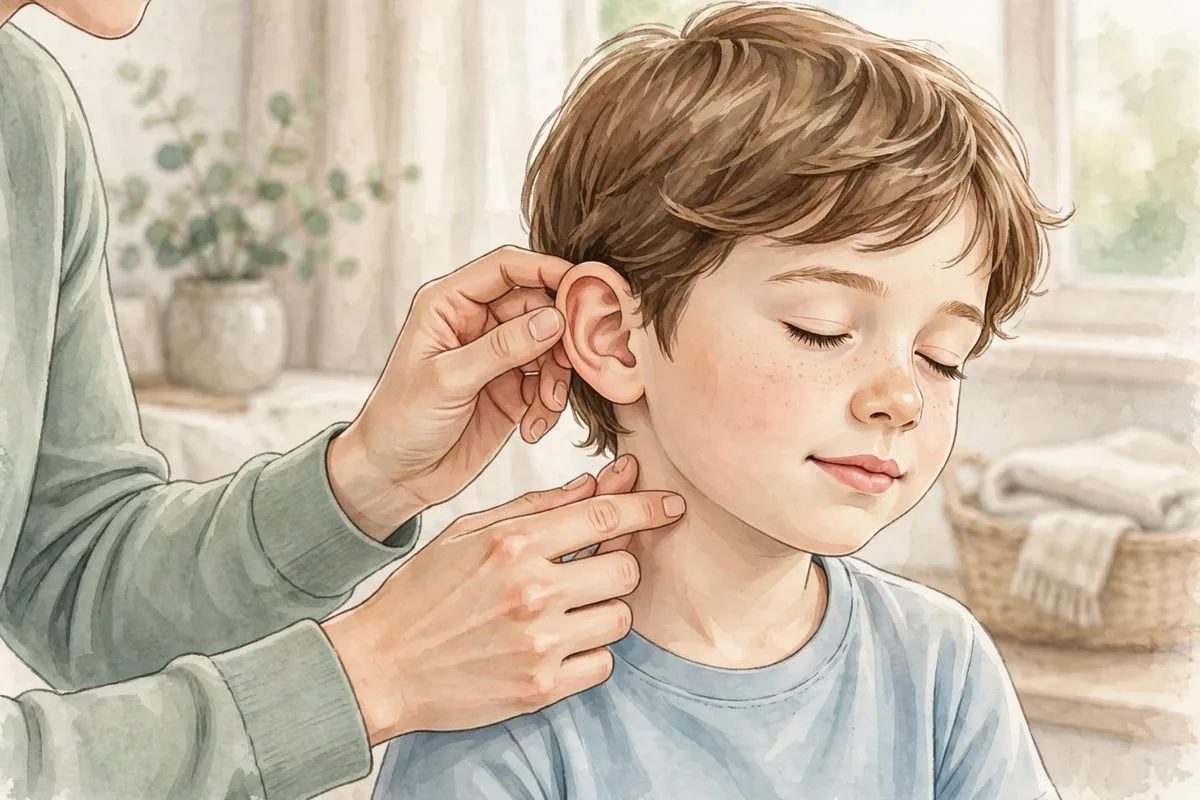
Ears. Check in front of, behind, and inside the folds of both ears. This is one of the most common hiding spots on children.
Neck and shoulders. Look at the front and back of the neck, including under shirt collars where a tick could have crawled up from clothing.
Armpits. Lift each arm and check the whole armpit area. Ticks favor warm, protected skin folds, and armpits are a classic site.
Waist and belly button. Check around the waistband line where clothing sits snugly against the skin. Peek inside the belly button too — it is small, but ticks do end up there.
Groin. This is a very common attachment site because the skin is thin and protected. Be matter-of-fact about it: a quick, calm check is enough.
Legs and behind the knees. Run your hands down the legs and check the backs of the knees carefully, plus the ankles where socks sit.
Between fingers and toes. Small but worth a look, especially after barefoot play.
Making Tick Checks Easier With Squirmy Kids #
Keep it routine, not scary. Frame the check as a normal part of coming home from outside — like taking off shoes. Kids who expect it cooperate far better than kids who sense panic.
Turn it into a game for little ones. “I’m the tick detective” works well. Let an older child check a stuffed animal or a sibling first so they see it is no big deal.
Use a magnifying glass. A cheap handheld magnifier makes tiny ticks visible and makes the whole process feel like an adventure rather than a chore.
Check clothes separately. Ticks can ride home on clothing and bite later. Toss outdoor clothes in the dryer on high heat for about 10 minutes — that kills ticks on dry clothing. (Washing alone may not kill them; the heat of the dryer does.)
Wear the right gear next time. Light-colored long sleeves and pants tucked into socks make ticks easier to spot and harder to reach skin. An insect repellent labeled as safe for children, applied per the label directions, adds another layer of protection.
What to Do When You Find an Attached Tick #
Do not panic. A tick that just attached has very likely not transmitted anything. Disease transmission generally requires many hours of attachment, so finding it early is a win.
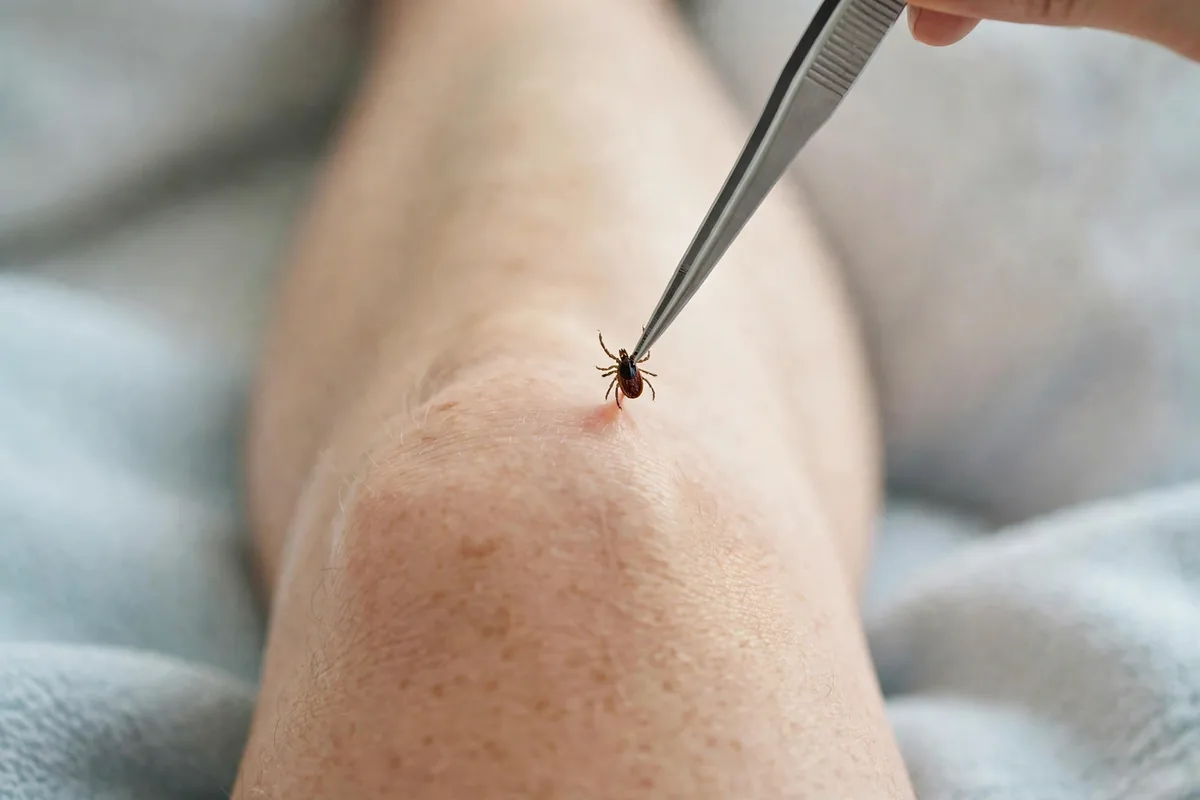
Use fine-tipped tweezers. Grasp the tick as close to the skin’s surface as possible — right at the head, not the swollen body. Pull straight upward with steady, even pressure. Do not twist, jerk, or squeeze the body, which can push fluids into the bite or break off the mouthparts.
Clean up after removal. Wash the bite area and your hands with soap and water, or wipe with rubbing alcohol. Write down the date and where on the body the tick was attached, plus where your child was playing — this helps a doctor if symptoms appear later.
Save the tick. Put it in a sealed container or zip-top bag with the date written on it. Identification later can help a clinician assess risk. Never crush a tick with your bare fingers.
Watch the coming weeks. Some tick-borne illnesses take days or weeks to show up. Know the signs to monitor — fever, fatigue, headache, joint aches, or an expanding red rash around the bite — and review what tick bite aftercare over the next few weeks looks like so you know what is normal and what is not.
Warning signs: when to seek care #
Call 911 immediately if your child has trouble breathing or swallowing, swelling of the face, lips, tongue, or throat, widespread hives, dizziness or fainting, or a racing heartbeat. These are signs of a severe allergic reaction. If your child has been prescribed an epinephrine auto-injector, use it first, then call 911 — do not wait to see if symptoms improve on their own.
For less urgent but still concerning signs, call your pediatrician or visit urgent care: redness that spreads outward from the bite over several days, red streaks moving away from the bite, pus or increasing warmth, a fever in the days or weeks after a tick bite, or an expanding circular rash. Also call if you could not remove the whole tick, if the tick was deeply engorged (suggesting it had been attached a long time), or if your child develops flu-like symptoms — fever, headache, body aches, or unusual fatigue — within a month of a known or suspected tick bite. Tick bites near the eyes, inside the mouth, or in the genital area also deserve a clinician’s look.
Frequently asked questions #
How soon after being outside should I check my child for ticks? #
Within a couple of hours. The sooner you find and remove a tick, the lower the risk of disease transmission, since most tick-borne infections need many hours of attachment. A same-day check plus a shower is the gold standard.
My child has long, thick hair — how do I check the scalp? #
Part the hair in rows with your fingers or a comb and look directly at the scalp in bright light. Run your fingertips slowly across the whole scalp, feeling for any new bump. Pay extra attention behind the ears and at the nape. A magnifying glass helps with very small nymph ticks.
Do I need to check my child’s clothes too? #
Yes. Ticks can stay on clothing for a day or more and attach later. Shake clothes out outside, then run them in the dryer on high heat for about 10 minutes, which kills ticks. Check backpacks, hats, and jackets as well.
What if the tick’s head breaks off during removal? #
Try once more with the tweezers to grasp the mouthparts close to the skin and pull straight out. If you cannot get them, leave the area alone — the skin will usually expel the fragment on its own as it heals. Clean the area, watch it for a few days, and call your pediatrician if redness, swelling, or pain increases.
Medical and editorial note #
This guide is general information about checking children for ticks and is not medical advice. Every child and situation is different, so if you are worried about a tick bite — especially if symptoms develop in the weeks afterward — contact your pediatrician or another qualified healthcare professional promptly.


