
A tick just came off your skin — or you found one crawling on your kid. Take a breath: what you do in the next 24 hours matters more than anything that happens later, and almost all of it is simple. This tick bite first 24 hours checklist walks you through removal, cleaning, documentation, and key decision points — calmly, in order, with nothing you need to buy first.
Hour 0: remove the tick correctly #
If the tick is still attached, removal is step one — and technique matters more than speed; done right, it takes about a minute.
Do this:
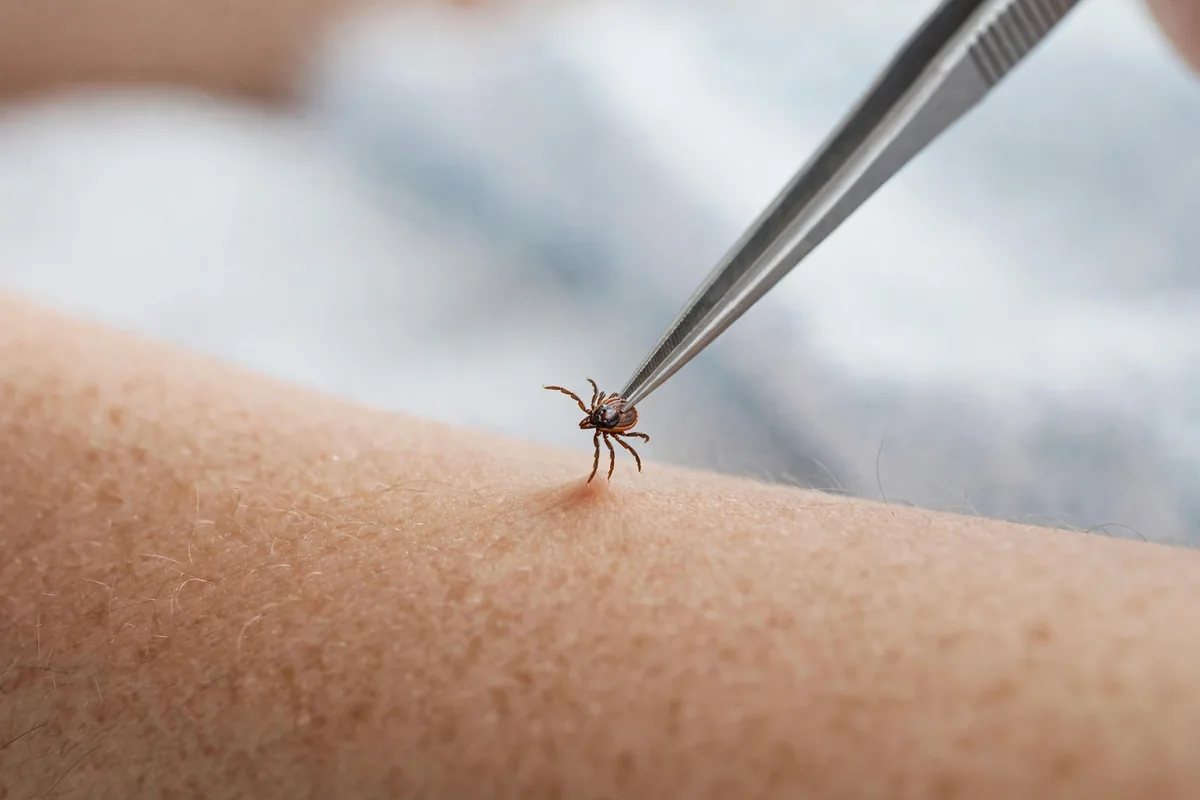
- Use fine-tipped tweezers. Broad, blunt-tipped household tweezers can squeeze the tick’s body; fine-tipped (pointed) tweezers grip the head area. If you don’t have tweezers, a tick-removal tool works; in a pinch, protect your fingers with tissue or gloves — but tweezers are the standard for a reason.
- Grasp as close to the skin as possible. You want the tick’s mouthparts, right where they enter the skin — not the swollen body.
- Pull straight up with steady, even pressure. No jerking, no twisting. A slow, firm pull lets the mouthparts release — it may take a few seconds of steady tension.
- Clean everything afterward. Wash your hands and clean the bite area with soap and water or an antiseptic wipe. Clean the tweezers too.
If part breaks off: mouthparts left in the skin are annoying, but the infection risk from the fragment is low. Try once more with the tweezers; if you can’t get it easily, leave it and let the skin heal — digging with a needle causes more harm than the fragment does. Note it in your records and mention it if you see a clinician.
A note on timing and risk: Lyme-causing bacteria generally need the tick feeding for roughly 36 hours or more before transmission becomes likely, so a tick found early carries less risk. Still, treat every attached tick with the same careful removal — the calendar math comes later, with your clinician.
Hours 1–6: clean, document, and save the tick #
With the tick off, the next step is creating a record — the step almost everyone skips, and the one doctors find most useful.
Clean the bite site. Wash the area with soap and water. If the skin is broken, a thin layer of plain petroleum jelly or over-the-counter antibiotic ointment per label directions can protect it while it heals. Cover with a bandage only if the spot will get rubbed or dirty.
Document everything, right now, while it’s fresh: date and time of finding and removing the tick; where on the body (a phone photo beats memory); where you likely picked it up — trail, yard, park, or campsite; roughly how long it was attached (an engorged tick fed longer than a flat one); and whether mouthparts remained in the skin.
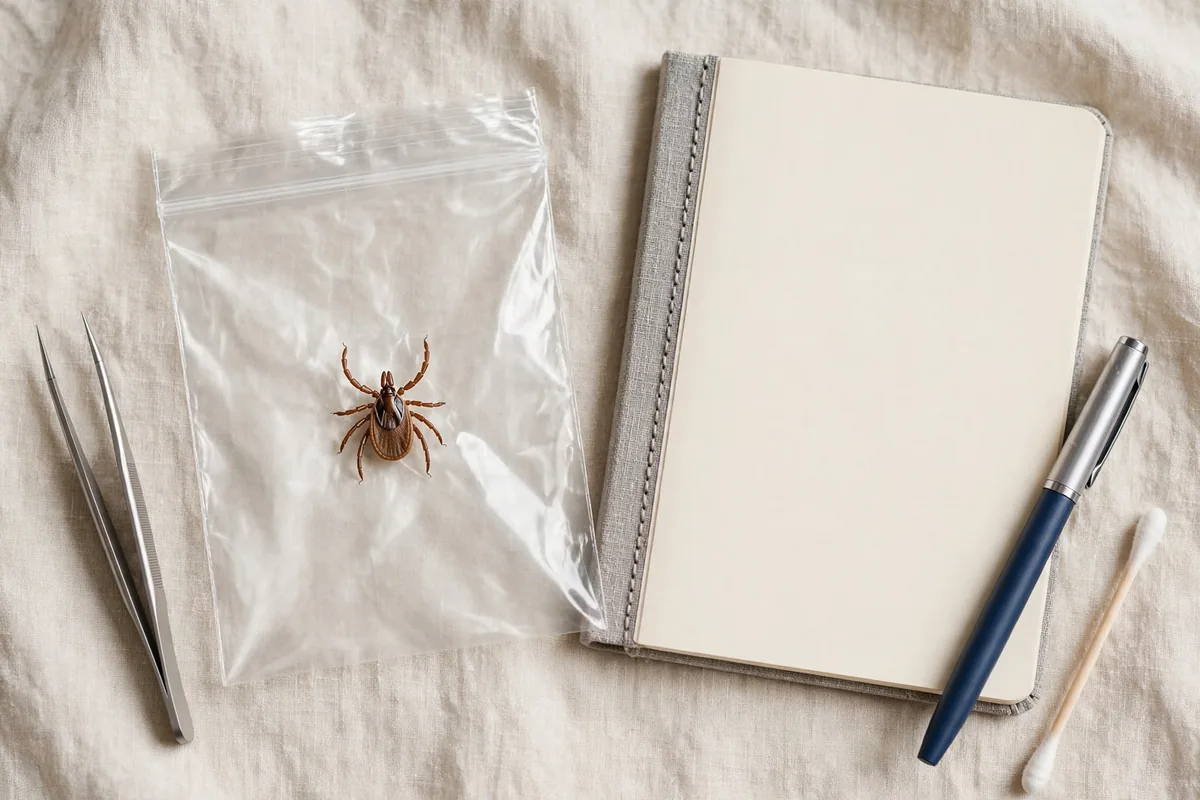
Save the tick. Put it in a sealed plastic bag or small jar, ideally with a lightly damp cotton ball, and write the date on the container. Tick identification — species and life stage — helps clinicians assess which illnesses are possible, since different ticks carry different diseases. Don’t crush it “to be sure it’s dead” if you plan to have it identified; an intact tick is far easier to identify.
Hours 6–24: watch for warning signs #
The first day after removal is about watching, not worrying. Here’s what’s normal and what isn’t in the first 24 hours:
Normal in the first day: a small red bump, mild itching, or slight tenderness at the bite site. This is your skin reacting to the bite wound and tick saliva — the same kind of local reaction many insect bites cause. It typically appears within hours and stays small.
Call your clinician promptly if: redness spreads outward significantly within the first day or two (a small bump is normal; a rapidly expanding patch is not); the area becomes increasingly painful, hot, or swollen; red streaks radiate from the bite; or pus develops. These suggest infection of the bite wound itself, which is a different problem from tick-borne illness and needs timely treatment.
Know what’s coming on the calendar, without obsessing over it. Tick-borne illness symptoms don’t appear in the first 24 hours — Lyme disease symptoms typically begin 3 to 30 days after an infectious bite, and ehrlichiosis/anaplasmosis usually 1 to 2 weeks out. So today’s job is documentation and wound care; the coming weeks are for symptom-watching.
What NOT to do in the first 24 hours #
Folk remedies for tick removal are persistent, and nearly all are bad ideas. In the first day after a bite, avoid:
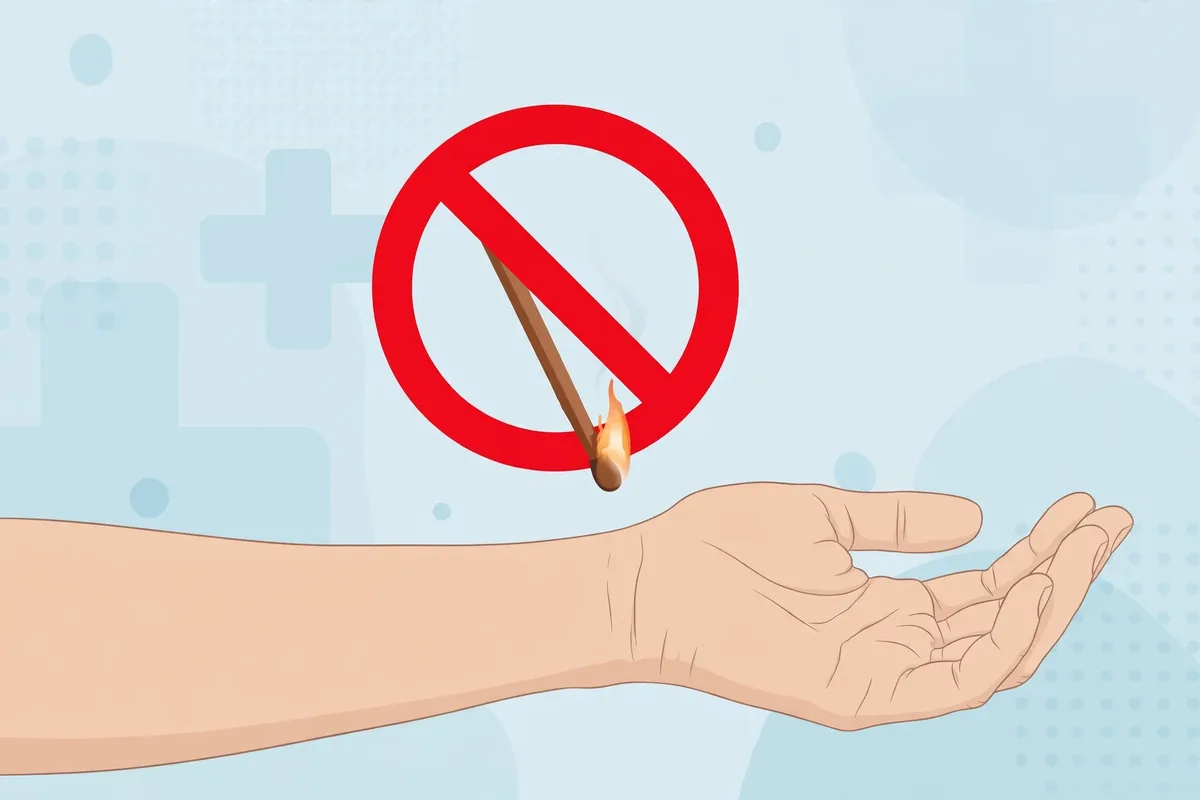
- Don’t burn the tick. Matches, lighters, and cigarettes near skin cause burns and can make the tick regurgitate into the wound.
- Don’t smother it with nail polish, petroleum jelly, or oil. These don’t make attached ticks back out reliably, and they waste time better spent removing it properly.
- Don’t twist or “unscrew” the tick. Twisting increases the chance the mouthparts break off. Straight, steady pull.
- Don’t squeeze the tick’s body. Compressing the abdomen can push its contents into the bite. Grip near the head, at the skin surface.
- Don’t take antibiotics on your own “just in case.” Preventive antibiotics after a tick bite are a real clinical option — but only in narrow, specific situations (e.g., a tick attached 36+ hours in a high-risk area, within about 72 hours of removal), and only a clinician should make that call. Self-prescribing skips the risk assessment that makes it safe.
- Don’t ignore it because you feel fine. Feeling fine on day one is expected — it tells you nothing about day ten. The documentation and watching schedule are the point.
When to call your clinician (and what to ask) #
You don’t need an emergency visit for every tick bite — but a call to your clinician’s office within the first day or two is reasonable, especially if any of these apply: the tick was likely attached for a long time (engorged); you’re in an area where Lyme disease or other tick-borne illnesses are common; the bite is on a young child, or you’re pregnant or immunocompromised; or you couldn’t remove the tick completely.
What to tell them: the bite date, where on the body, where you likely picked it up, how long it was attached, and whether you saved the tick. Bring the tick (or a clear photo) if they want to identify it.
What to ask: whether your situation fits the narrow criteria for preventive treatment; what symptoms to watch for and over what timeframe; and whether to see you now or only if symptoms develop.
After the first day, tick bite aftercare for the next few weeks picks up where this checklist leaves off. If a rash develops, tick bite rash vs. local irritation helps you tell a harmless local reaction from something needing a clinician’s eyes.
Warning signs: when to seek care #
Call 911 immediately if you develop trouble breathing or swallowing, swelling of the face, lips, tongue, or throat, widespread hives, dizziness or fainting, or a racing heartbeat — these are signs of a severe allergic reaction (anaphylaxis), which can follow any bite or sting. If you carry an epinephrine auto-injector, use it first, then call 911 even if you feel better afterward.
Seek urgent care if: redness spreads rapidly from the bite within the first day or two; red streaks, pus, or increasing pain suggest wound infection; fever, headache, or muscle aches develop in the weeks after the bite; an expanding circular rash appears; or embedded mouthparts look infected. Bring your documentation — the date, photos, and the saved tick — to every visit.
Frequently asked questions #
The tick fell off on its own — do I still need to do all this? #
Yes, minus the removal step. A tick that fed and dropped off was attached for a full meal — often 36 hours or more — putting it in the higher-risk category for disease transmission. Document everything you can, save the tick if you have it, clean the bite site, and call your clinician about preventive treatment.
How soon after removal should I call my doctor? #
Within a day or two is reasonable for most bites — no emergency-department urgency unless warning signs appear, but don’t let it slide for weeks either. The preventive-treatment window clinicians consider is measured in days (around 72 hours from removal in the narrow cases where it applies), so an early call keeps your options open.
Can I identify the tick species myself? #
You can try — a clear, close-up photo compared against your state health department’s tick guide is a decent start. But nymphs (the stage most likely to transmit Lyme) are tiny and easy to misidentify, so your clinician will tell you where to send the saved tick if they want an ID.
My child was bitten at camp — what do I tell the camp? #
Give them the same documentation: date found, body location, and where the child was playing or hiking. Ask whether other campers have found ticks (a local hotspot signal) and what the camp’s tick protocol is. Keep your own copy of everything — your clinician needs your version too.
Medical and editorial note #
This checklist is general information about responding to a tick bite in the first 24 hours, not medical advice for your situation. Tick-borne disease risk depends on the tick species, your region, and attachment time — factors only a healthcare professional can assess for you. If you’re unsure about removal, develop any warning signs, or simply feel worried, contact your doctor, an urgent-care clinic, or your local health department.


